Creating a home photography studio allows you to capture professional quality images without needing to rent expensive studio space. Whether you're a hobbyist or a professional photographer, having a dedicated space at home can make your workflow more efficient and convenient. Follow these six steps to set up your home photography studio.
Step 1. Choose the Right Space
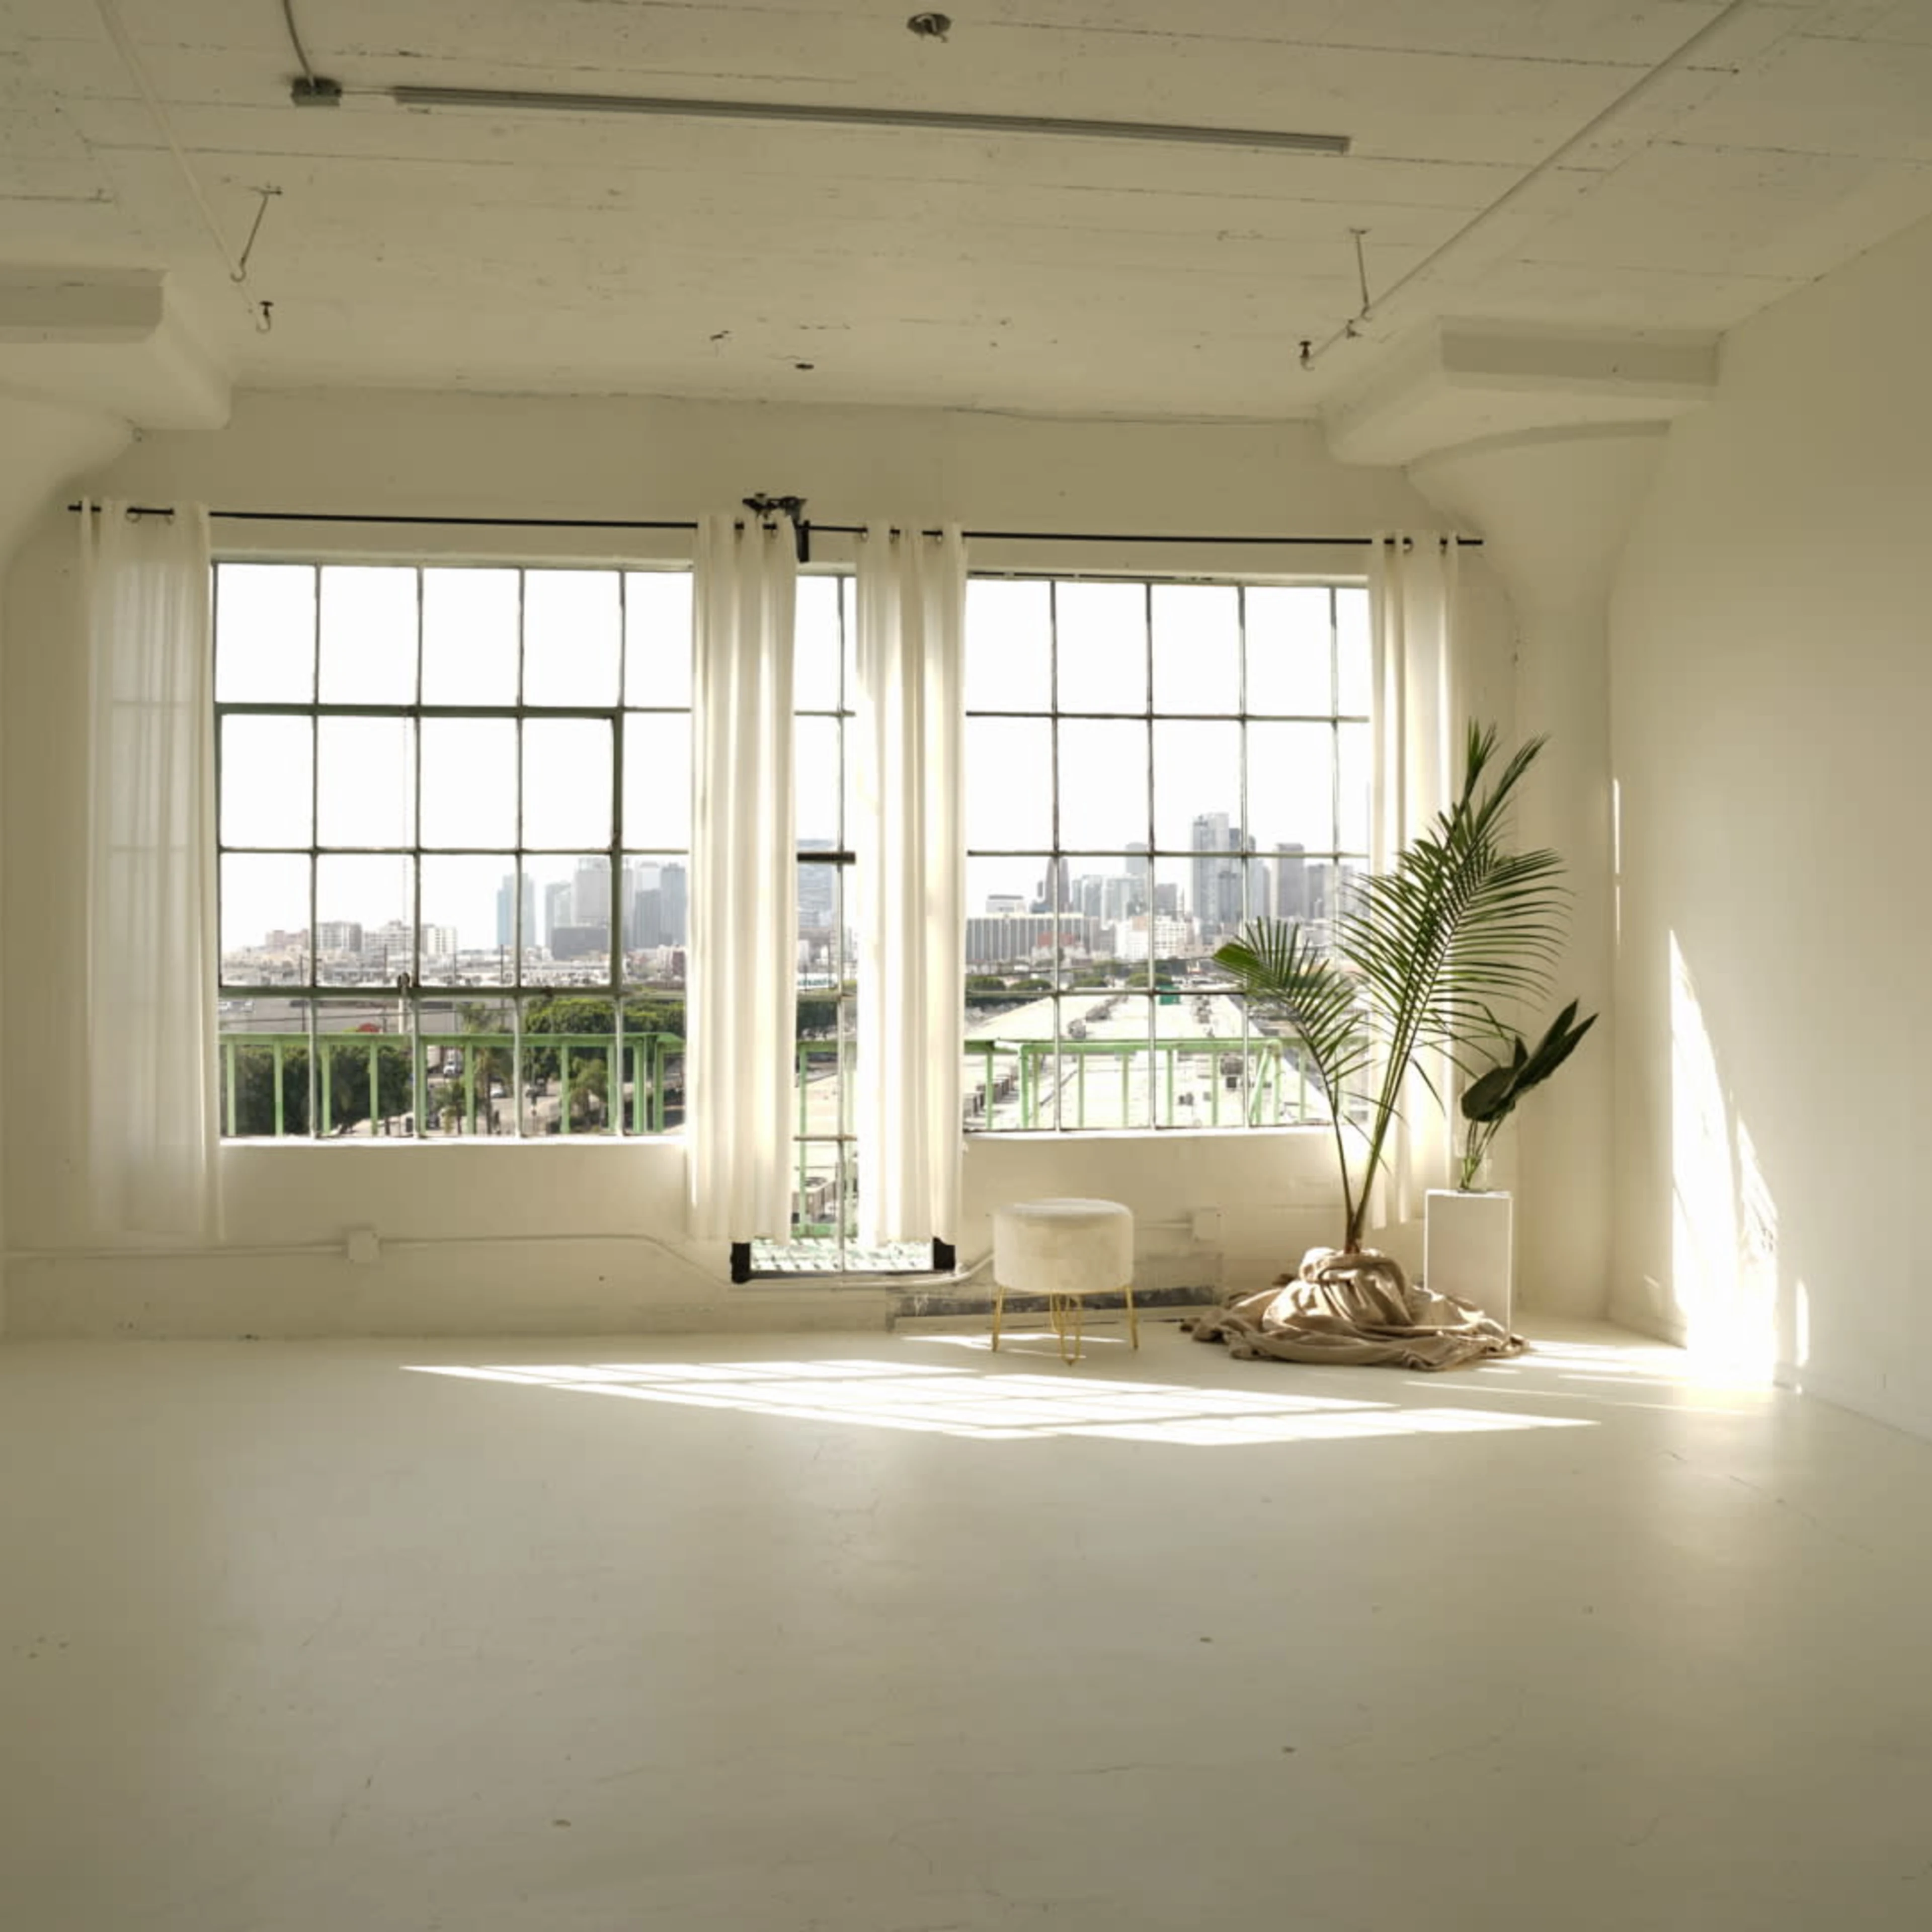
An empty room with ample natural light, designated as the future home photography studio.
The first step in setting up your home photography studio is selecting the right space. Look for a room with plenty of natural light, as this will help reduce the need for artificial lighting. The room should also be spacious enough to accommodate your equipment, props, and any models you may be working with. If possible, choose a space with neutral colored walls, which will help control light reflection and color casts.
Step 2. Invest in Quality Lighting Equipment
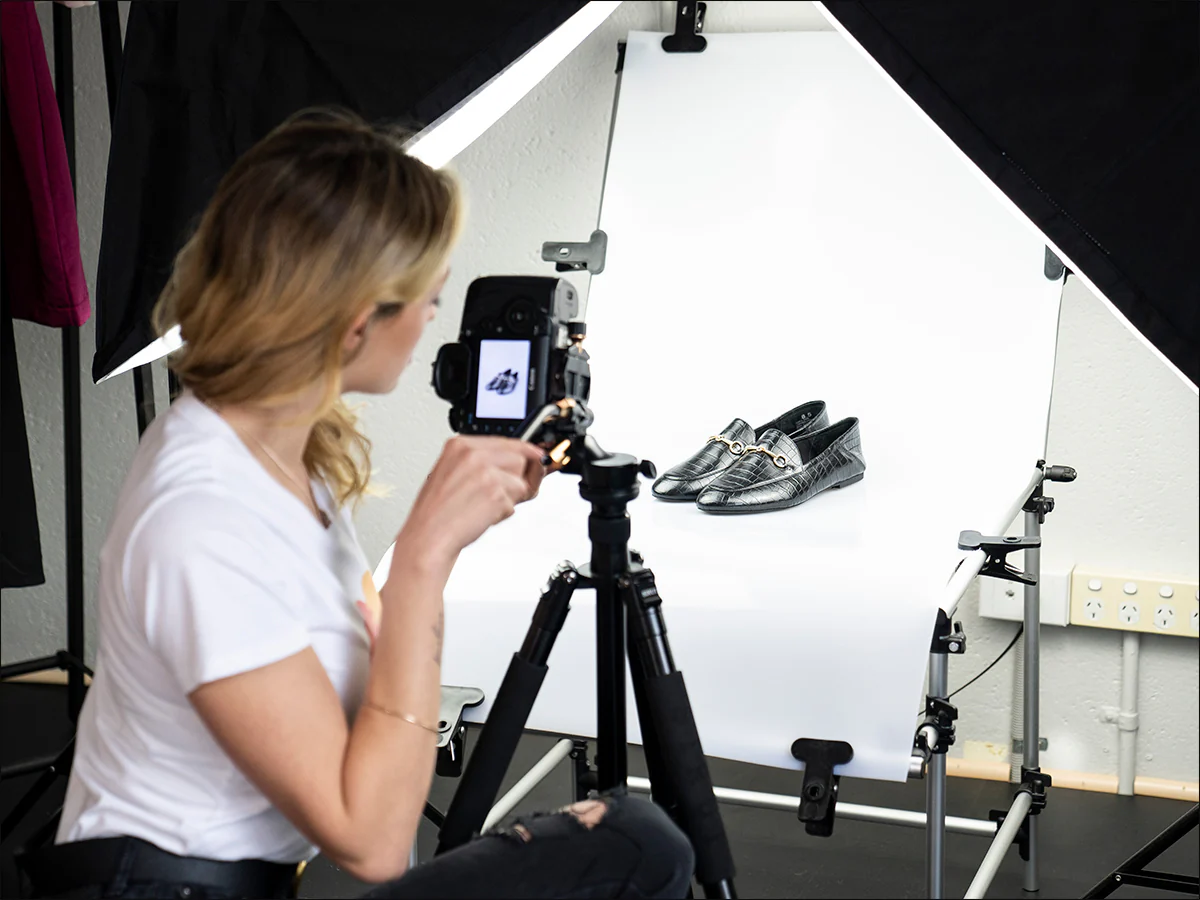
A professional photography lighting setup with soft boxes, a ring light, and reflectors arranged around a camera.
Lighting is one of the most critical aspects of photography, and investing in quality lighting equipment is essential for a home studio. Soft boxes, ring lights, and reflectors are great tools to control and shape light. You can also use continuous lights or strobes, depending on your shooting style. Proper lighting equipment will allow you to create the right mood and exposure for your shots.
Step 3. Set Up a Backdrop System
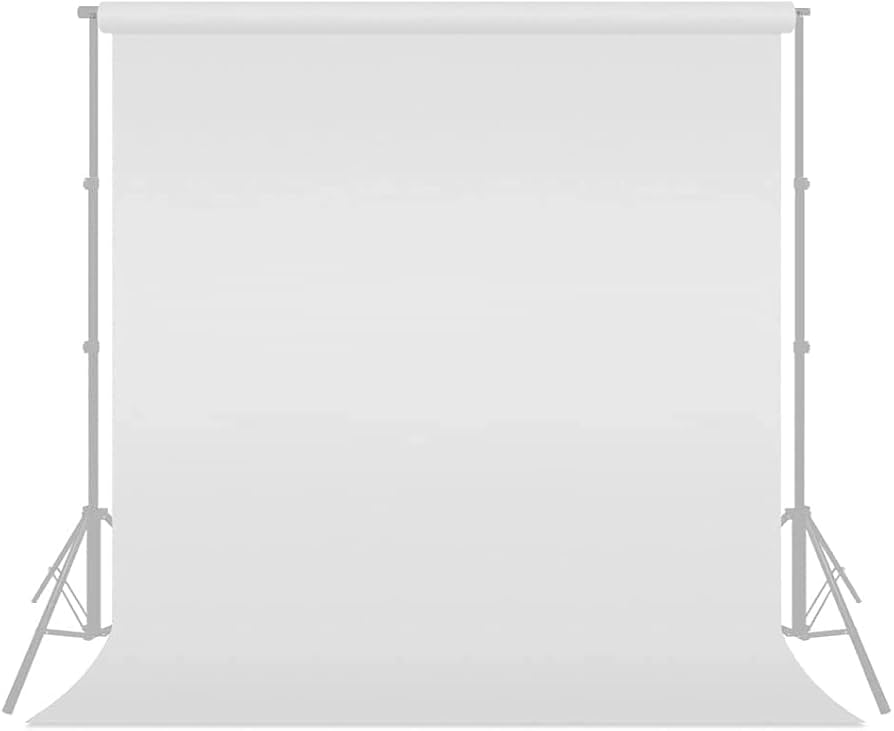
A photography backdrop system with a white seamless paper backdrop hung from a sturdy stand.
A versatile backdrop system is key to a functional home studio. Start with a simple backdrop stand and a few rolls of seamless paper in different colors. White, black, and grey are versatile choices that can be used for a wide range of photography styles. You can also experiment with textured or fabric backdrops for different effects. Make sure your backdrop is large enough to accommodate full body shots if needed.
Step 4. Arrange Your Camera and Tripod
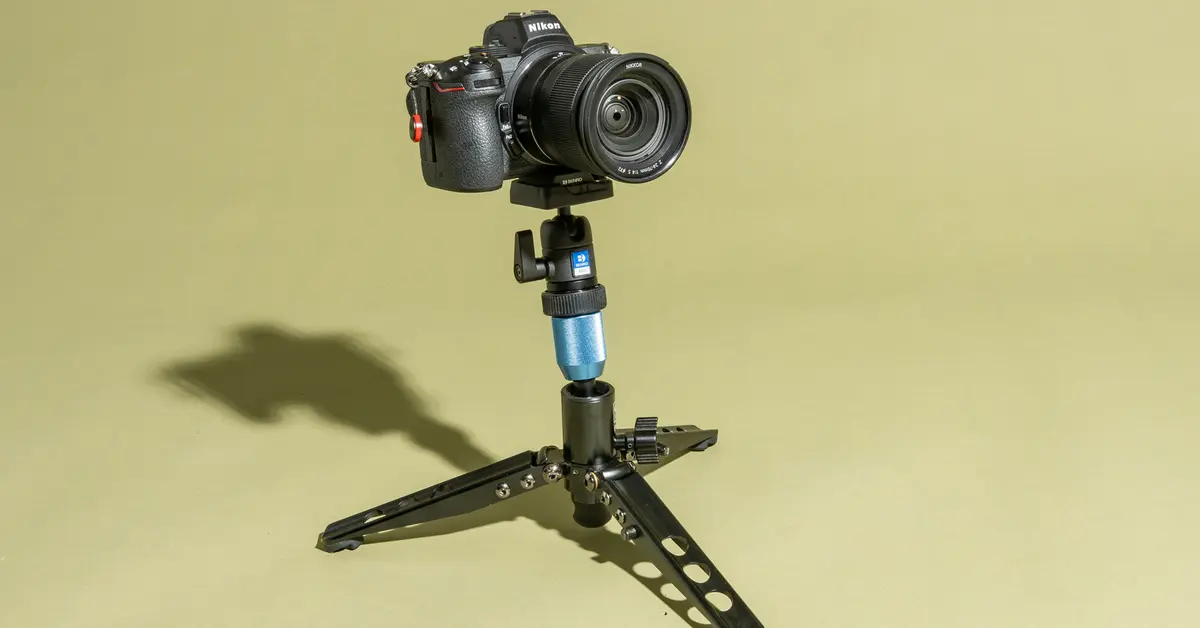
A DSLR camera mounted on a sturdy tripod, perfectly aligned with the backdrop and lighting setup.
Your camera setup should be stable and easy to adjust. A solid tripod is a must - it lets you set your camera at the right height and angle while keeping it steady. You might also want a remote shutter release or tethering system to take photos without touching the camera. This setup helps you get sharp, clear photos and lets you compose shots more precisely.
Step 5. Organize Your Props and Accessories
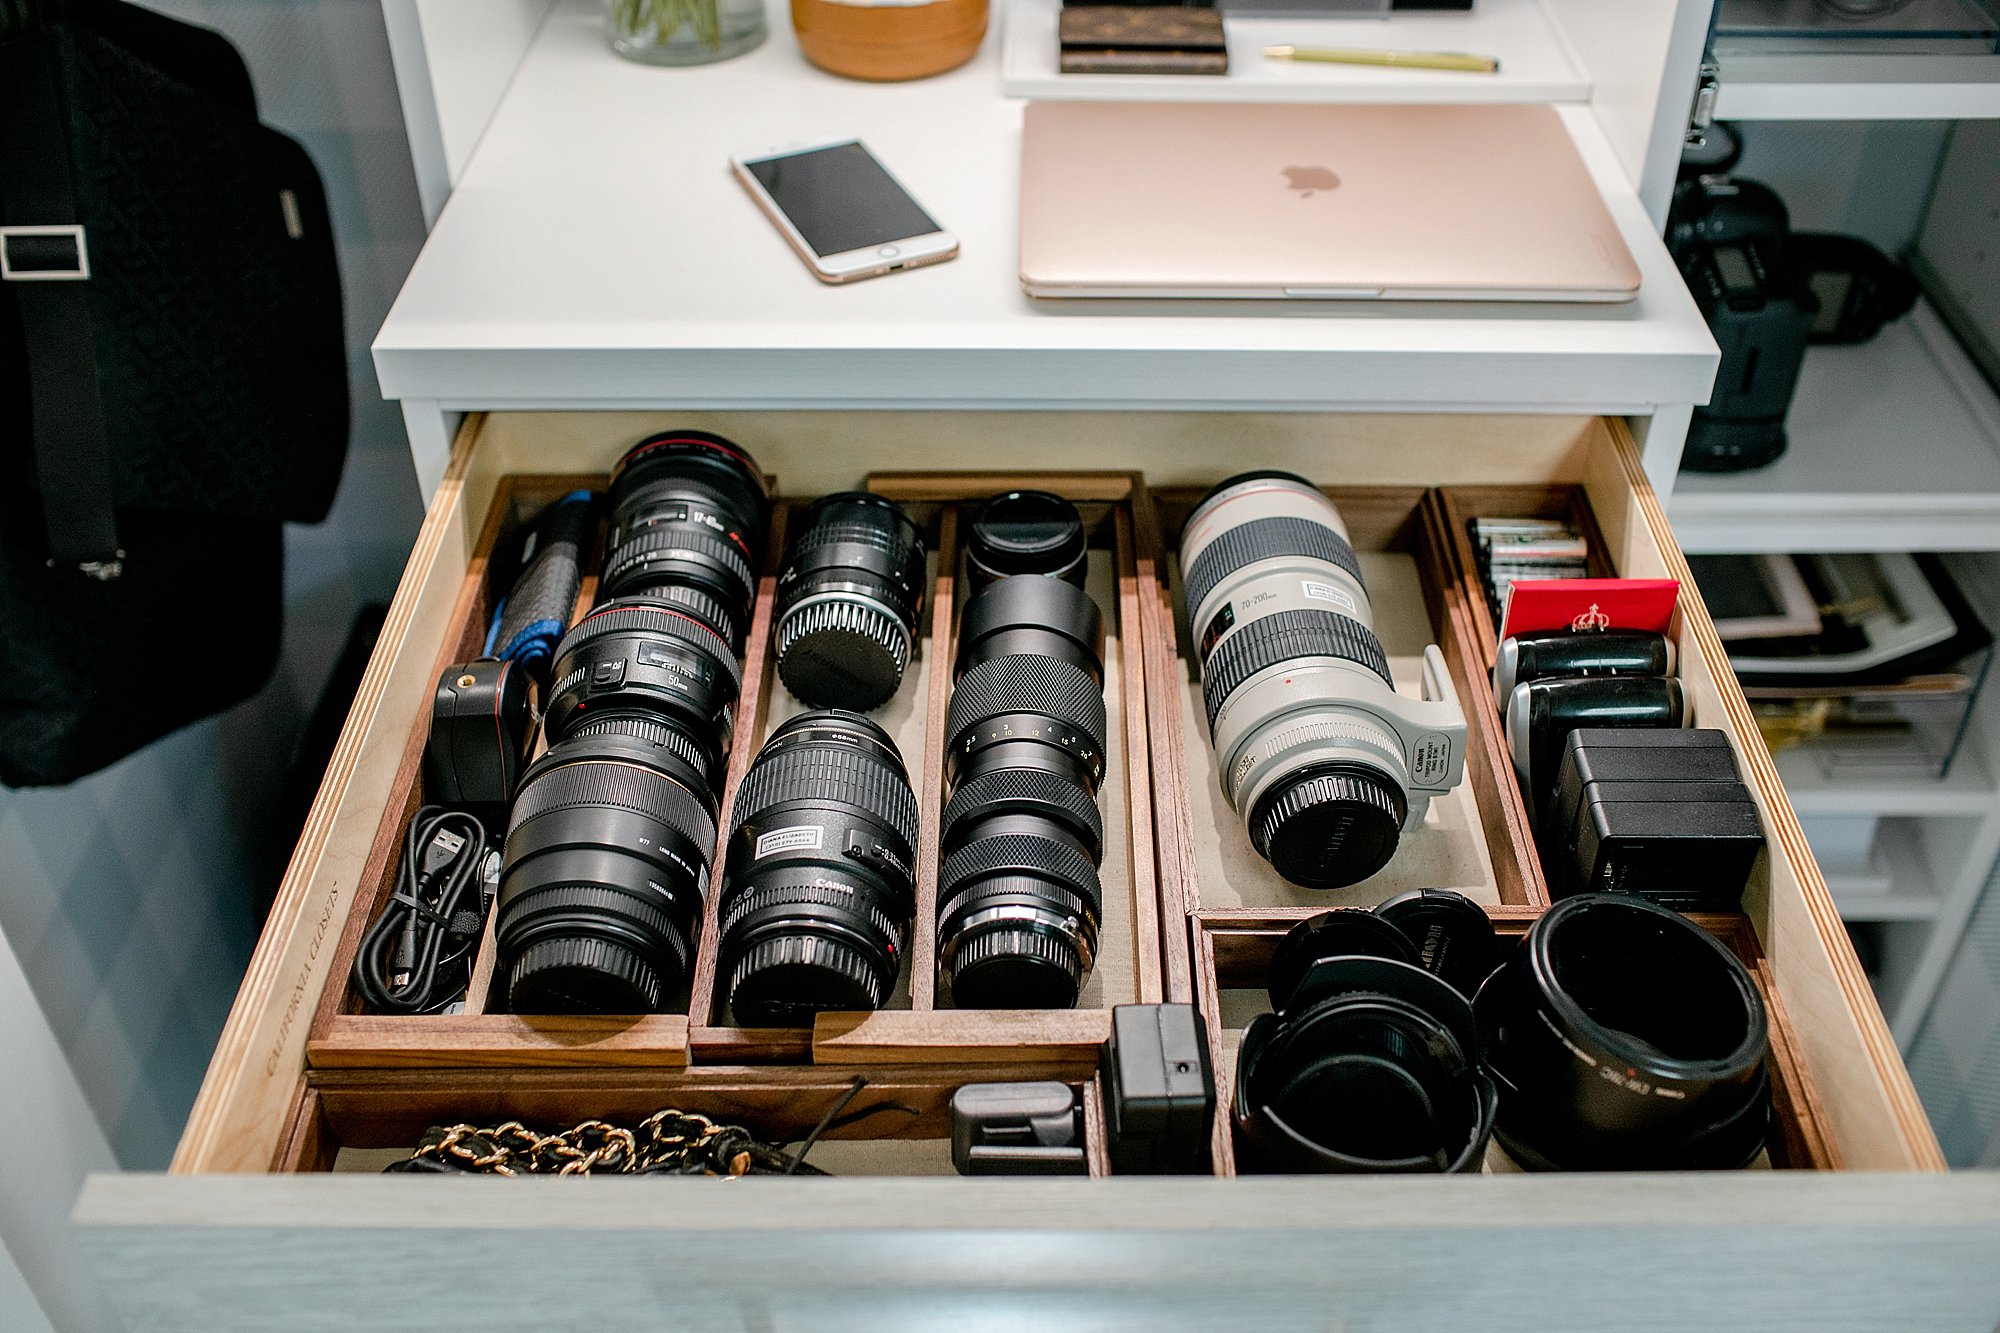
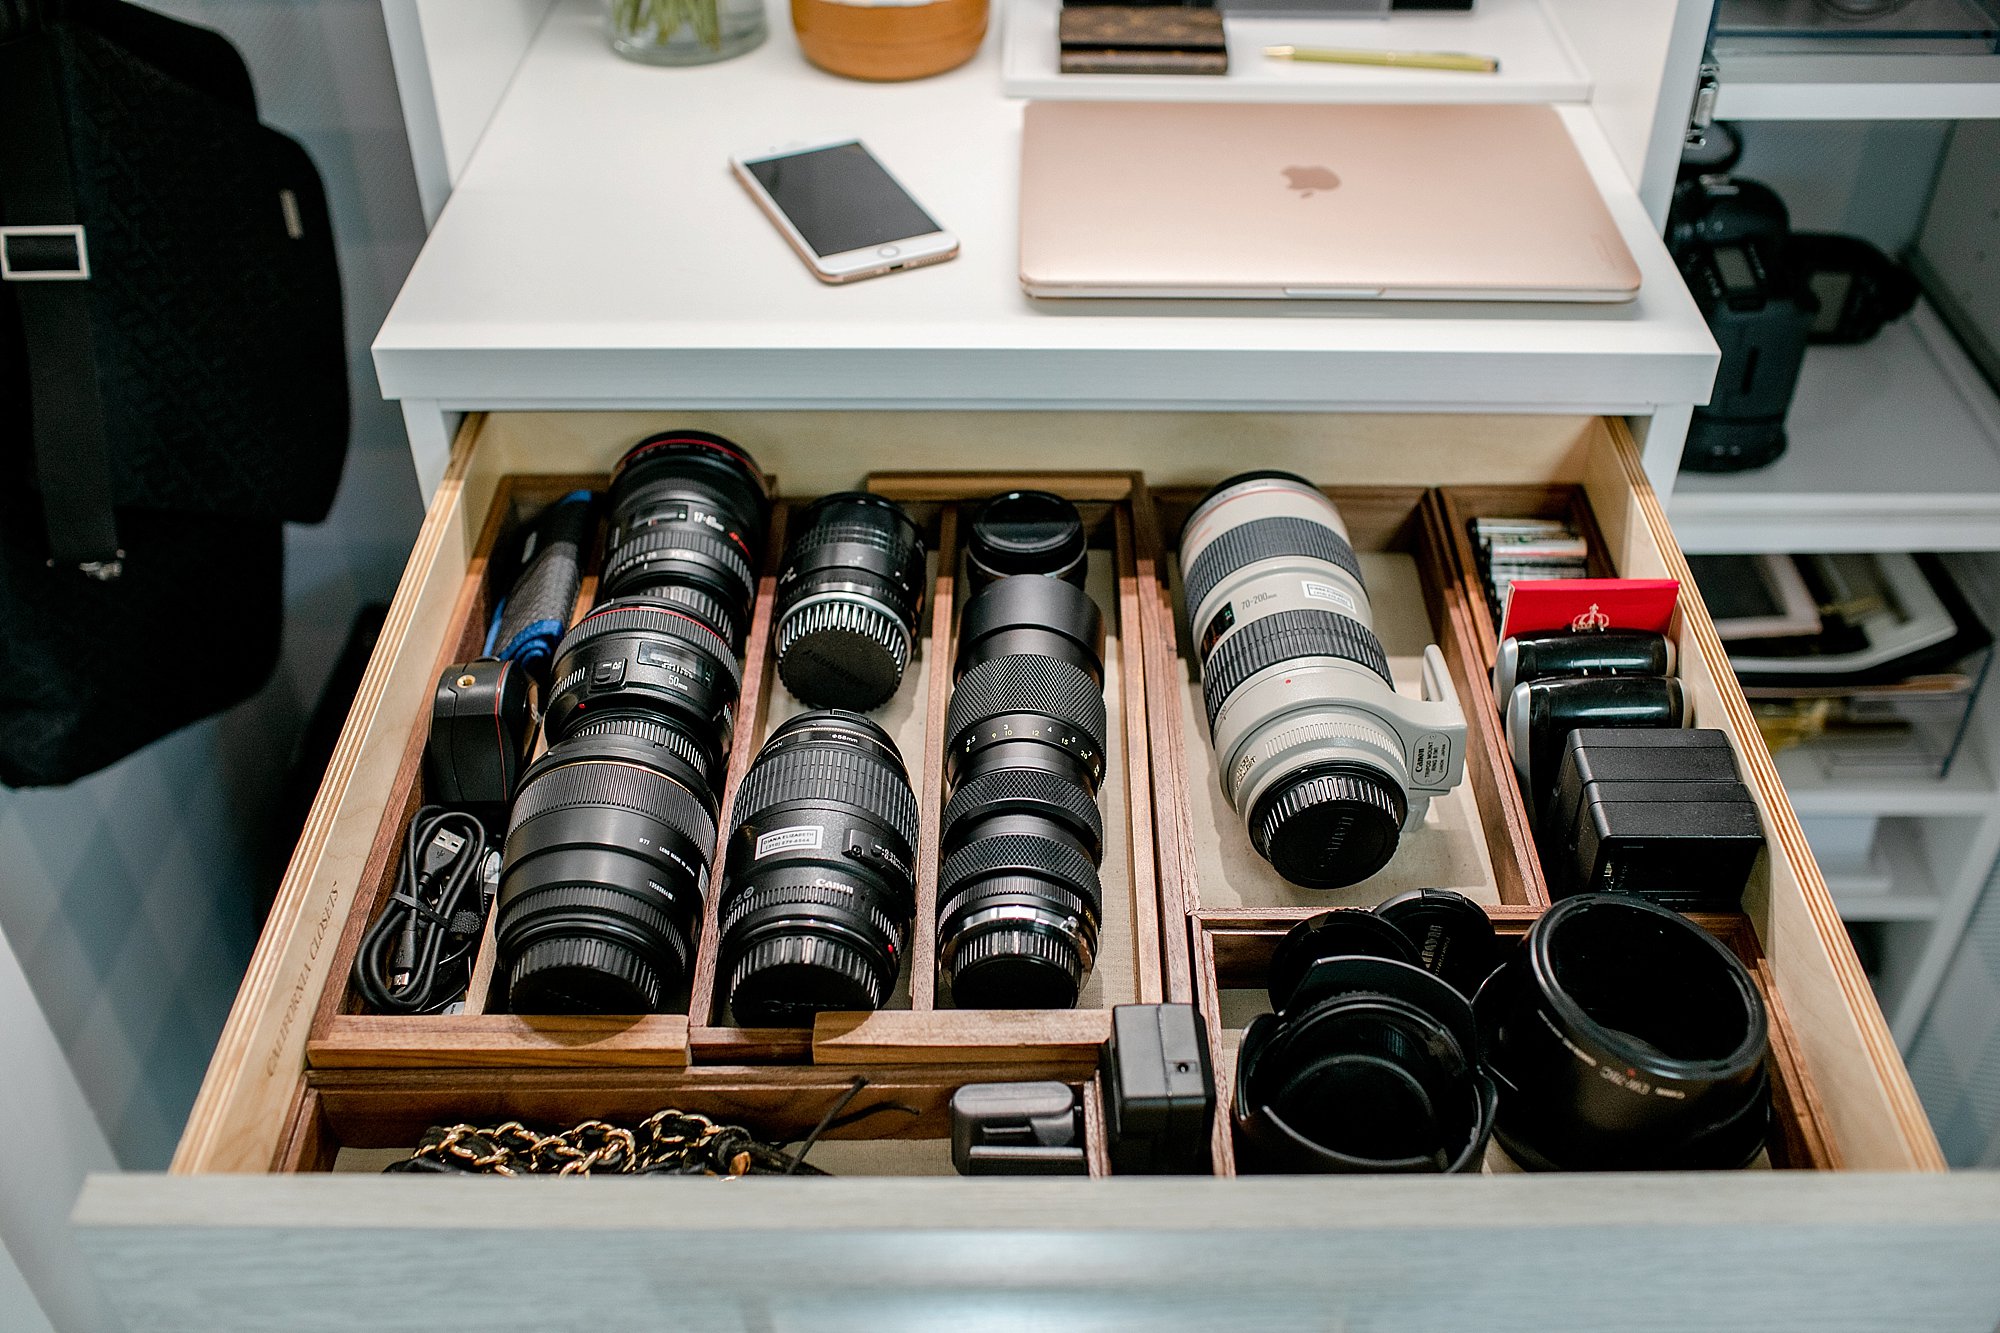
A neatly organized shelf with various photography props, lenses, and other accessories stored for easy access.
Props and accessories can add creativity and variety to your shoots. Organize them in a way that makes them easily accessible during sessions. Shelving units, bins, or drawers can help you keep everything in order. Make sure you have a variety of lenses, reflectors, and other tools at hand to adapt to different types of photography, whether you're shooting portraits, still life, or product photography.
Step 6. Test and Adjust Your Setup
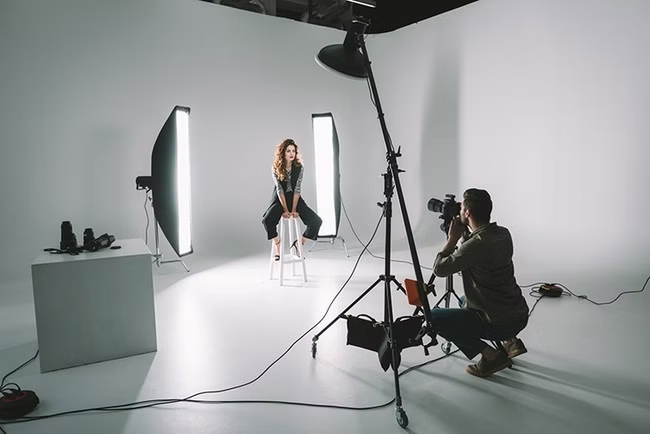
A photographer testing the lighting and backdrop setup with a model, making adjustments to achieve the desired effect.
After setting up your studio, take some test photos to make sure everything works well. Try different light angles, backdrop combos, and camera settings to find what suits you best. Don't be afraid to make changes until you're happy with the results. Testing before a shoot helps you be ready when it's time to work with clients or models.
Setting up a home photography studio involves careful planning and investment in the right equipment. By following these six steps choosing the right space, investing in quality lighting, setting up a backdrop system, arranging your camera and tripod, organizing your props and accessories, and testing your setup you can create a professional and efficient photography environment in the comfort of your home. This setup will allow you to produce high quality images and improve your photography skills in a controlled and convenient space.
Comments